Plan the visual idea
Decide who or what belongs in the image, what they are doing, where the scene takes place, and which mood or anime style should guide the result. A compact plan prevents unrelated details from competing for attention.
Practical tutorial
This guide shows how to use ai anime generator online to turn an idea into an anime-style image. Follow the workflow from prompt planning through review and refinement.
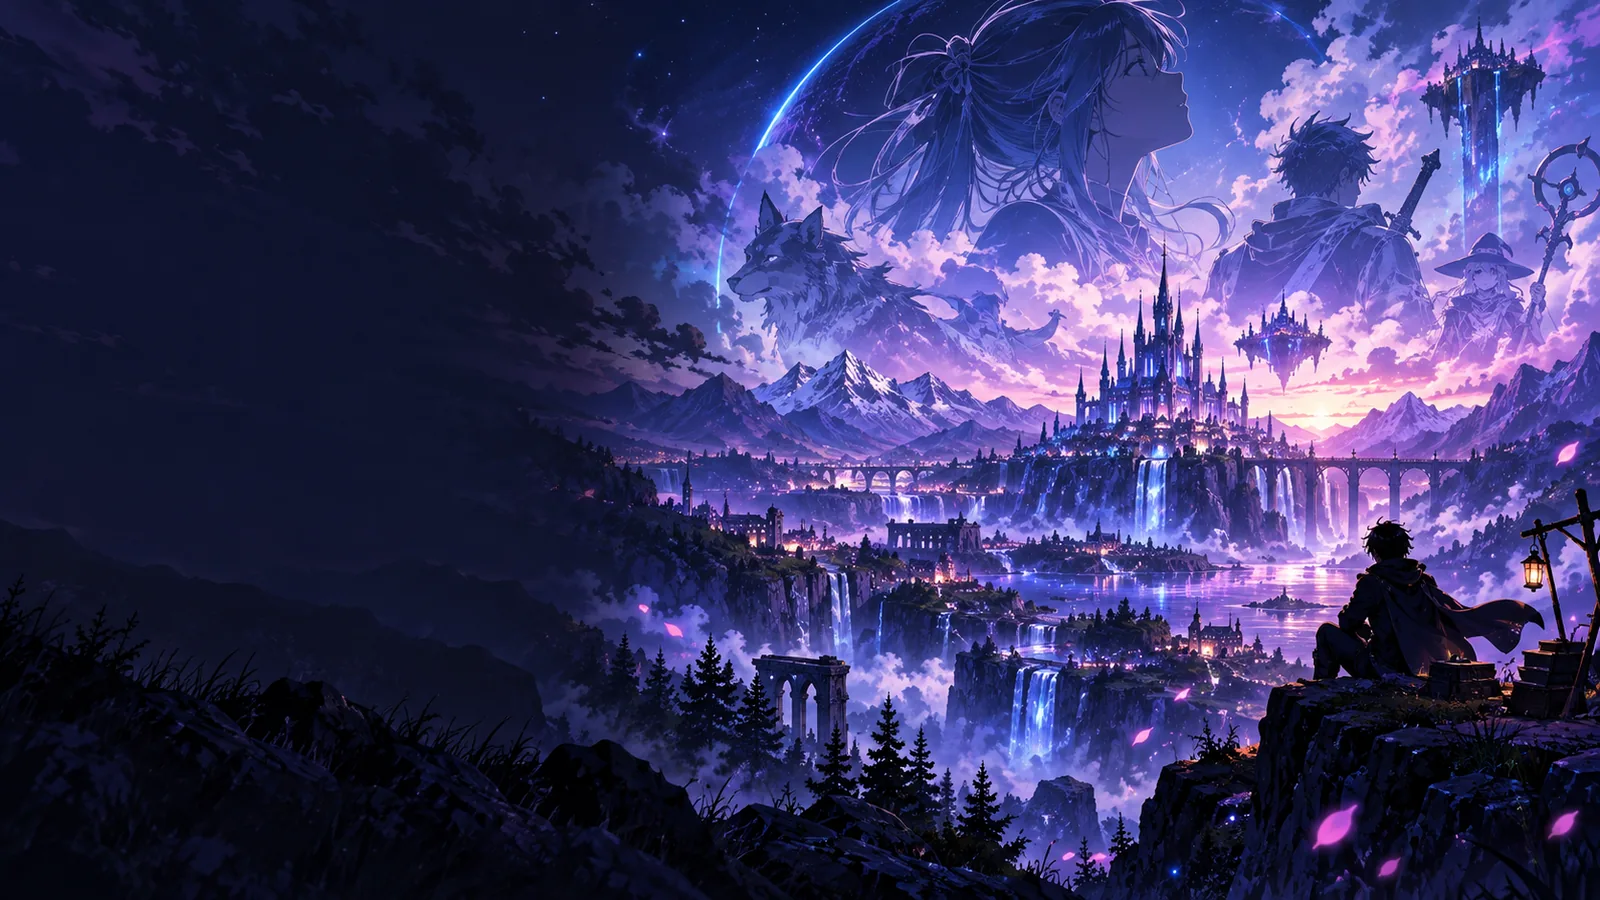
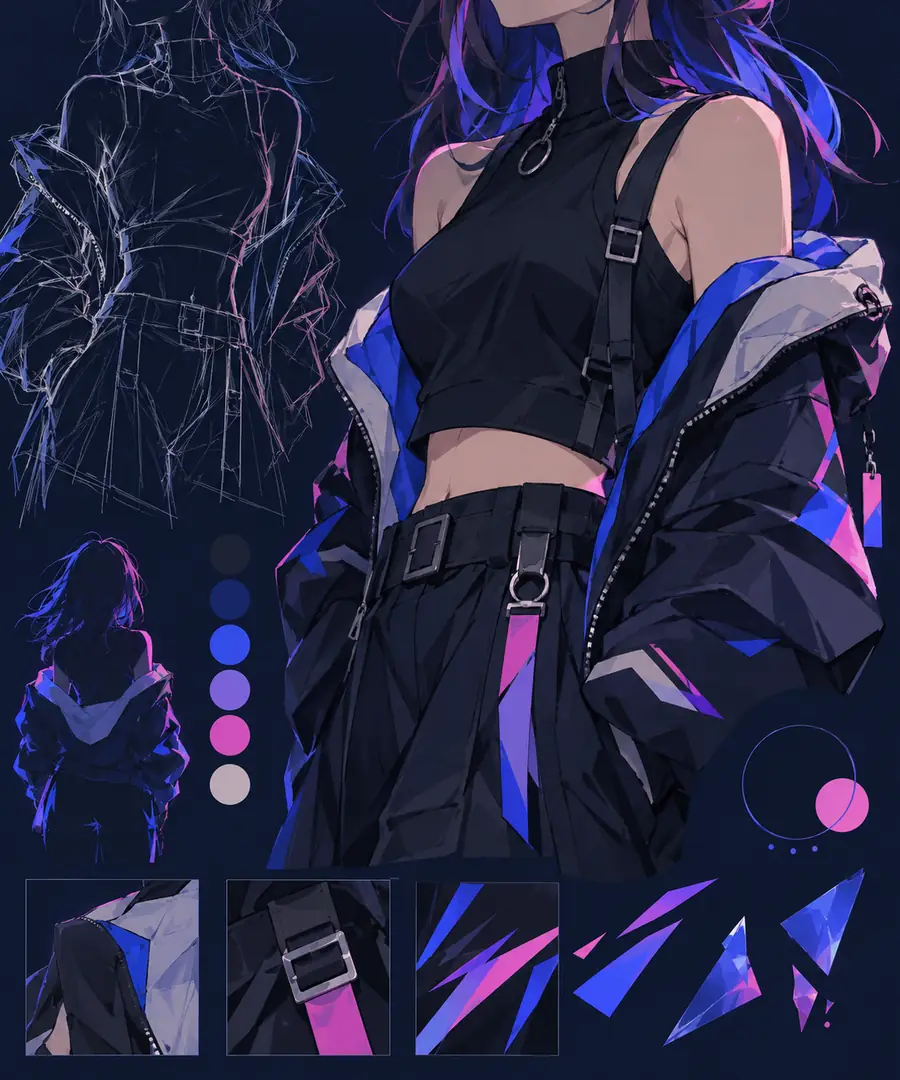
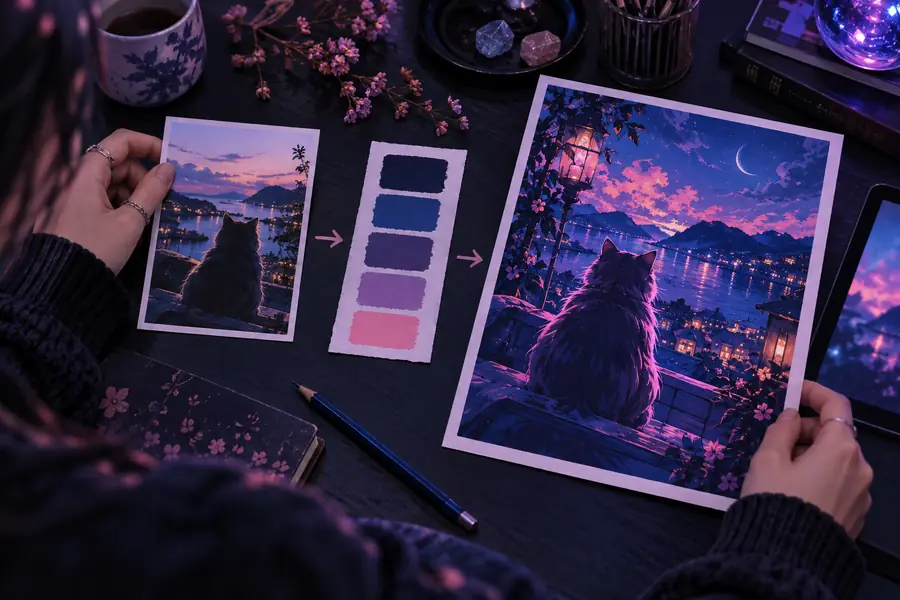
Drag the divider to compare prompt refinement.
Use this three-part process whenever you want a controlled starting point instead of relying on random prompt changes.
Decide who or what belongs in the image, what they are doing, where the scene takes place, and which mood or anime style should guide the result. A compact plan prevents unrelated details from competing for attention.
Put the main subject first, then add action, setting, composition, lighting, color, and style. Submit the prompt through the generator and treat the first image as a useful draft rather than a final verdict.
Check the face, hands, pose, background, and most important story detail. Keep what works, replace one weak instruction at a time, and generate another version with a more focused prompt.
You do not need a complicated production setup. Prepare a focused idea and a few visual decisions before opening the tool.
Name the character, creature, object, or group clearly.
Use an observable action such as running, reading, or looking over a city.
Examples include a train station at dusk, a bright forest, or a rainy street.
Mention cinematic, soft watercolor, energetic shonen, or another useful style cue.
These details help steer composition but are not essential for a first draft.
Use a straightforward starting point when you want to explore anime image ideas without overcomplicating the workflow.
Follow a photo-based route when the starting point is a person, pose, or existing image rather than a blank concept.
Build an illustration from written details when your scene, character, and atmosphere are already clear in words.
Once the basic process feels familiar, choose the prompting approach that matches the kind of image you want to make.
For a character-led image, put identity and pose before decorative details. Describe hair, clothing, expression, age range, and action in a stable order, then add the environment. This gives the generator a stronger hierarchy to follow.
For a landscape, group scene, or story moment, explain the foreground, middle ground, and background. State where the viewer is positioned and what should attract attention first. A scene-focused prompt works best when it tells the image how to be organized, not only how to look.
Style words are most useful after the subject and action are established. Combine a medium, lighting direction, palette, and emotional tone rather than stacking many broad labels. This helps an anime image feel intentional while leaving room for the subject to remain recognizable.
Most disappointing drafts are easier to repair by changing one part of the instruction than by rewriting everything at once.
A phrase such as “make anime art” gives the generator little information about subject, action, or composition. Add a protagonist, a visible action, a location, and one mood cue before changing the style.
Long prompts can contain several characters, locations, props, camera angles, and moods that do not belong together. Remove secondary ideas and keep the detail that carries the story. Add back one element only after the main image reads clearly.
When the image lacks depth, specify foreground and background placement, then add a light source or atmospheric condition. Words such as backlit, misty distance, long shadows, or reflected street light can give the composition a clearer sense of space.
If a face, outfit, color, or prop matters to the story, describe it once with concrete language and avoid adding conflicting alternatives later. Review the most important feature first and refine only that instruction in the next attempt.
You now have a practical workflow: prepare the essentials, write a focused prompt, inspect the first draft, and refine the detail that matters most. Open the tool with a scene in mind and use the prompt box as your first creative pass.
Yes. An AI image generator can turn a written description into an anime-style illustration. Start with a subject, action, setting, and mood, then review the first result and refine the instruction.
Begin with the most important subject and what that subject is doing. Add the setting and visual mood next, followed by details such as clothing, lighting, color, or framing.
Remove secondary characters, props, and competing style directions from the prompt. Keep one focal point, one main action, and a simple setting, then add extra detail gradually.
A photo or other reference can provide a starting point for a photo-to-anime workflow when that option is available. Describe the desired transformation clearly and use the written prompt to guide mood, setting, and finish.
Change one important variable at a time when possible, such as pose, lighting, or background. Comparing focused revisions makes it easier to understand which instruction improved the result.